How to install AsterSwitchboard to work with Yeastar
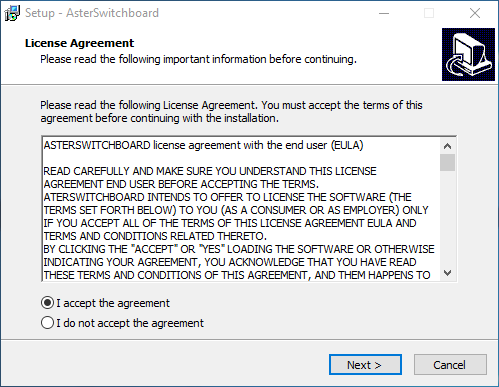
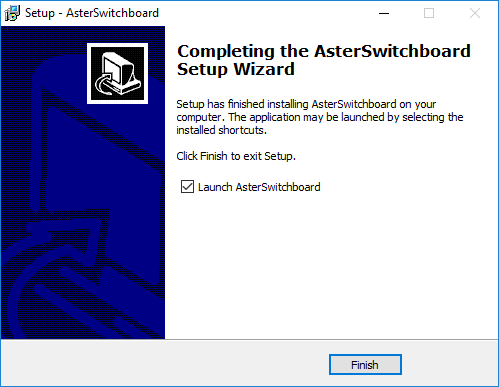
Download Asterswitchboard and follow these four steps:
To operate properly, AsterSwitchboard needs at least a manager type account configured on the Yeastar PBX.
With Yeastar you can create the account manager through a graphical interface.
Access your Yeastar via web, log in then select Settings then Security then Service.
Flag Enable AMI. The User Name, Password and IP / Subnet mask fields will appear. See the following figure.
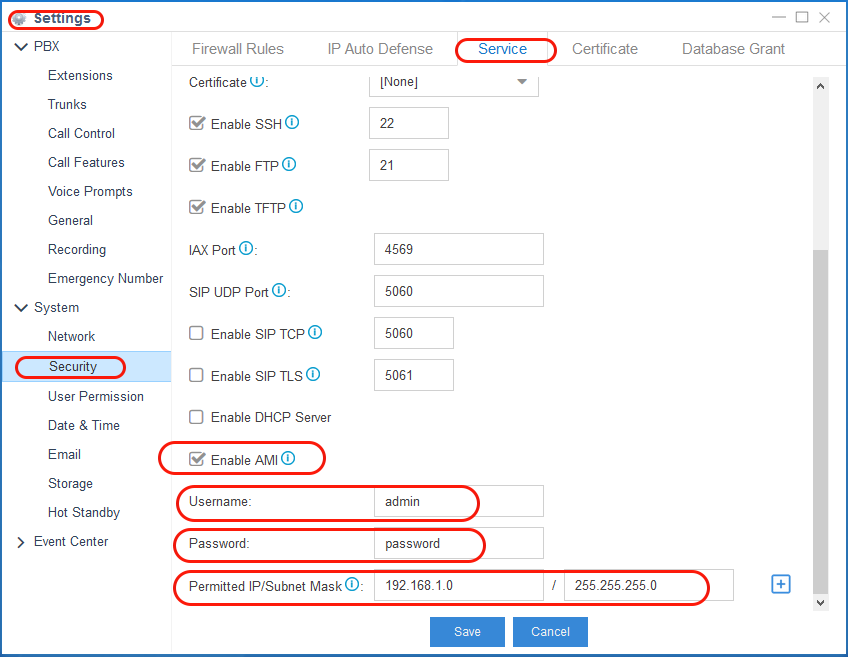 |
| Username | Choose a user name. It will be inserted in AsterSwitchboard configuration in the Login name field on the client computer (in step 3) |
| Password | Choose a password. It will be inserted in AsterSwitchboard configuration in the Password field on the client computer (in step 3) |
| Permitted IP/Subnet Mask | This is your local network (LAN) for example: 192.168.1.0/255.255.255.0. IP address will be inserted in AsterSwitchboard configuration (in step 3) |
Username, Password and IP address will be used in step 3.

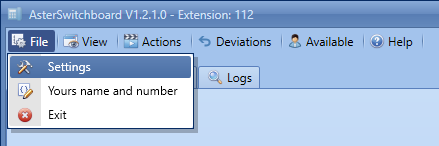
3) Run AsterSwitchboard and enter IP address, credentials and phone info into the configuration menu
From the AsterSwitchboard menu select File and then Settings
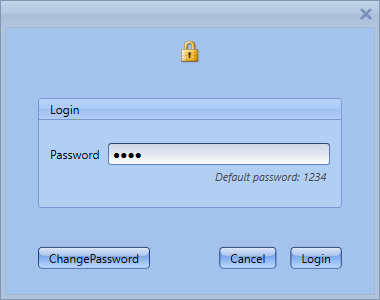
 To access the application setting a password is required. The default one is 1234.
Digit it and click on Login button.
To access the application setting a password is required. The default one is 1234.
Digit it and click on Login button.
 Asterisk Server Configuration
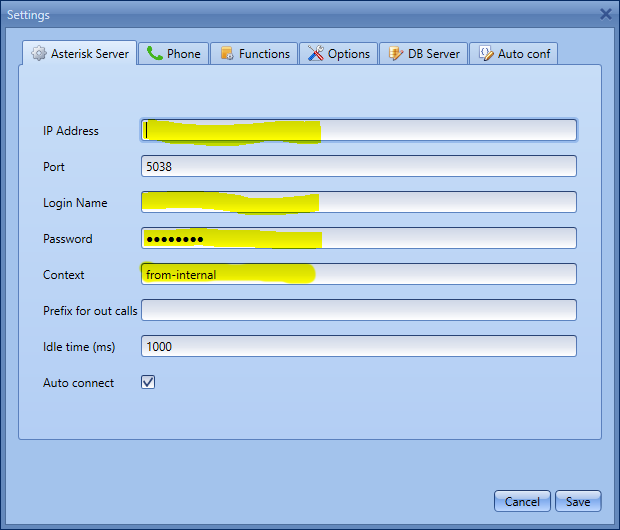
In the setting windows, tab Asterisk Server, fill in these fields:
IP Address
the asterisk server ip address (example 192.168.1.100). The same choosen in step 1
Login name
the same choosen in step 1
Password
the same choosen in step 1
Context
context of your extension.
For example from-internal is used by FreePBX, Elastix 2.x and Issabel.
Yeastar use
DLPN_DialPlanXXX, where XXX is the extension number.
If left blank it will be automatically compiled
by AsterSwitchboard after the first connection to the PBX.
 Phone Configuration
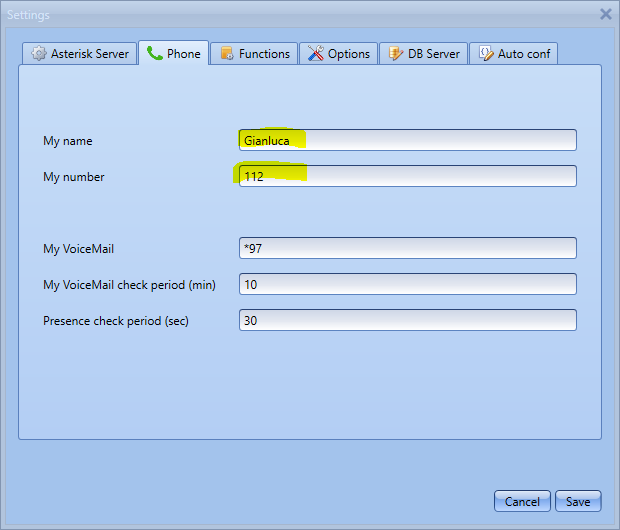
Click on the Phone tab and fill in these fields:
My name
the name of user of the extension that AsterSwitchboard will manage.
It's just a string you can choose it freely.
My number
the number of the extension that AsterSwitchboard will manage. For example 112.
From the AsterSwitchboard menu select File and then Settings
To access the application setting a password is required. The default one is 1234.
Digit it and click on Login button.
Asterisk Server Configuration
In the setting windows, tab Asterisk Server, fill in these fields:
In the setting windows, tab Asterisk Server, fill in these fields:
| IP Address | the asterisk server ip address (example 192.168.1.100). The same choosen in step 1 |
|---|---|
| Login name | the same choosen in step 1 |
| Password | the same choosen in step 1 |
| Context | context of your extension. For example from-internal is used by FreePBX, Elastix 2.x and Issabel. Yeastar use DLPN_DialPlanXXX, where XXX is the extension number. If left blank it will be automatically compiled by AsterSwitchboard after the first connection to the PBX. |
Phone Configuration
Click on the Phone tab and fill in these fields:
Click on the Phone tab and fill in these fields:
| My name | the name of user of the extension that AsterSwitchboard will manage. It's just a string you can choose it freely. |
|---|---|
| My number | the number of the extension that AsterSwitchboard will manage. For example 112. |
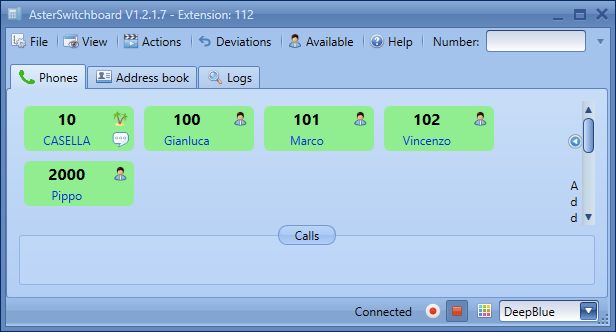
From the AsterSwitchboard menu select Actions and then Connect.
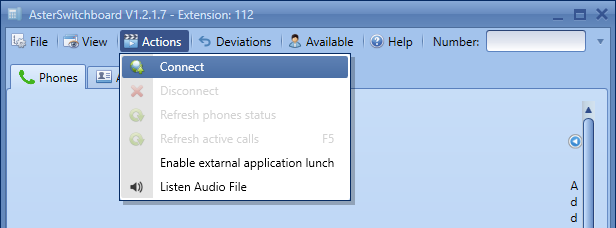 If the settings of step three are correct you will see all the internal peers
and you are ready to use AsterSwitchboard!
If the settings of step three are correct you will see all the internal peers
and you are ready to use AsterSwitchboard!
From the AsterSwitchboard menu select Actions and then Connect.
If the settings of step three are correct you will see all the internal peers
and you are ready to use AsterSwitchboard!